The subtle art of stretching a space: 7 steps to nailing your home extension
Thinking of extending your home? You’re not the only one dreaming of more space. Whether your family’s growing, your lifestyle’s shifting or the idea of moving feels more daunting than desirable, home extensions are booming across Melbourne. But a successful extension isn’t just about creating more room. It’s about making smarter use of the space you already have – and planning with purpose. Ready to find out how? You’re in the right place.
Step 1: Get clear on your ‘why’
Before you start sketching out floor plans or scouring Pinterest for inspo, take a breath. Ask yourself: Why am I doing this?
A home extension is one of the biggest financial and emotional investments you’ll make. It’s not a quick fix or a cosmetic upgrade – it’s a structural commitment. So make sure your reason stacks up.
Are you extending because your home truly can’t meet your needs? Or because you’ve outgrown its layout rather than its size? Is it a forever-home investment? Or a short-term workaround?
Sometimes, a reconfiguration or smart interior design can improve liveability just as much as a costly extension. So, gut-check your motivation before making plans.
If the ‘why’ doesn’t feel solid, the ‘how’ won’t hold either.
Step 2: Know what you can – and can’t – do
Every suburb comes with its own set of planning controls, overlays and zoning restrictions. These might dictate how high you can build, how far you need to set back from your boundary or whether heritage protections apply.
And trust us – overlooking these can lead to serious setbacks.
Start by checking your property’s zoning via your local council’s website. Then, look into applicable overlays: heritage, vegetation, flood, bushfire – each comes with its own requirements. In many cases, you’ll need to apply for a planning permit before you even consider building.
If you’re in a heritage zone, changes to your home’s façade or materials may be limited. If your site has a significant slope, retaining walls might be necessary. It all adds complexity – and cost.
The key? Don’t assume. Do your research early and call in the right expertise (more on that part next).
Step 3: Get the right team on board
You wouldn’t stage a play without a support crew. And you shouldn’t extend your home without a team behind you, either.
At a minimum, you’ll want an architect or building designer to bring your vision to life. They’ll balance aesthetics with structural smarts and ensure your design suits both your site and lifestyle.
Next? A registered builder. Preferably one with extension experience in your area, and a reputation for finishing on time – and budget. Ask for referrals, check their registration on the Victorian Building Authority (VBA) website and request a portfolio.
Depending on your project’s size and complexity, you may also need:
- A town planner to help navigate council approvals
- An interior designer to finesse the flow and finishes
- A project manager to coordinate timelines and trades
A good team doesn’t just get the job done – they make the journey smoother.

Step 4: Lock in your budget (with a buffer)
Let’s get real: extensions almost always cost more than you expect.
From materials to permits, structural surprises to wet-weather delays, expenses have a way of stacking up. That’s why we always recommend creating two budgets: one for the build and one as a buffer (10–20%).
Talk to your architect and builder about realistic cost per square metre. And be practical about what you can afford and where you’re willing to compromise. A slightly smaller footprint or fewer custom features might allow you to invest in higher-quality finishes that stand the test of time.
And always – always – factor in contingencies. Because the only thing worse than a delayed build? One you can’t afford to finish.
.jpg)
.jpg)
Step 5: Set a realistic timeline
TV reno shows have a lot to answer for (The Block, we’re looking at you!). They make it look like you can gut a house, rebuild it and add a wine cellar in under 6 weeks.
In reality? Most home extensions take 6 to 12 months – and that’s after design and approvals.
Here’s a rough breakdown:
- Design and documentation: 2–3 months
- Council approvals: 1–6 months (depending on your suburb and scope)
- Construction: 4–12 months (weather and workflow pending)
Be sure to allow time for unforeseen delays – supply shortages, permit hiccups or tricky site conditions can push things out.
And finally, avoid locking in moving dates, furniture deliveries or tenants for a granny flat until your timeline is looking more certain.

Step 6: Think long-term, not just nice-for-now
Yes, you want a brighter kitchen and more storage space. But the best extensions go beyond solving today’s problems. They’re designed to serve your life tomorrow, too.
So ask yourself:
- Will this layout still work as the kids get older?
- Could this home adapt to multi-generational living or working from home?
- Are we improving energy efficiency or increasing our bills?
- Is it accessible – or could it be with small tweaks?
Sustainability should also be front of mind. So opt for double-glazed windows, solar panels and efficient insulation. Not only will you reduce your carbon footprint, you’ll cut long-term costs and future-proof your investment.
Future-you (or future buyers) will thank you.
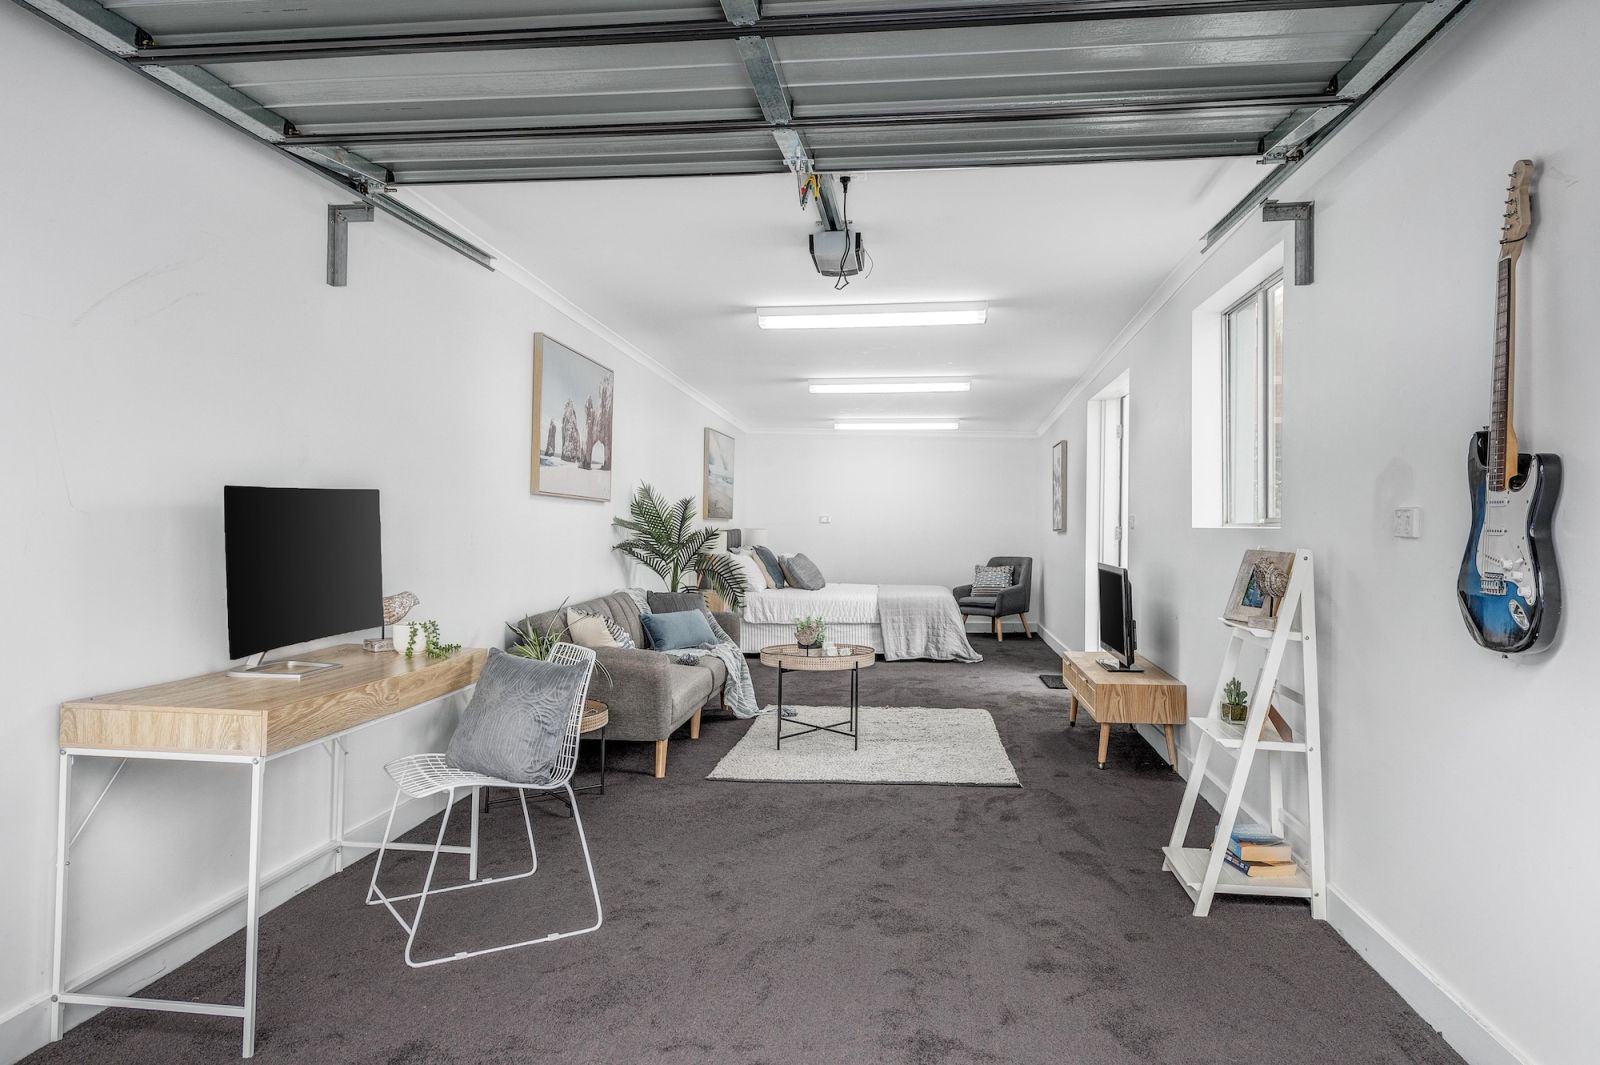
Step 7: Work smart, not hard
Sometimes, the smartest solutions are the simplest ones.
Rather than overhauling your entire home, look for opportunities to integrate with what’s already working. Could you extend upwards instead of outwards? Build above the garage? Use existing plumbing lines to reduce costs?
Prefabricated elements, modular extensions and design repeats can also speed things up and save on trades.
And don’t overlook the value of natural light and airflow – they can transform a space without adding a single square metre.
Remember: this isn’t about doing more. It’s about doing it better.